If you ask me, there is nothing quite like having fresh cut flowers around the house. It’s always welcoming, refreshing and bright. I try to always have a bunch sitting out, especially in the spring and summer, when the beautiful blooms are plentiful! My personal favorites are peonies and hydrangeas. Hydrangeas happen to be one flower you can find nearly year round, and I’m just waiting on that precious peony season. I remember growing up my parents had peonies in the back yard and I loved to pick them. Despite the fact they were covered in ants! I didn’t know it then, but peonies apparently need the ants to bloom; that totally interested me.
While I don’t have any fresh flowers growing in my back yard (yet) I love to pick up a few bunches at Trader Joes or a local flower shop every chance I get. I’ve grown to enjoy putting them together in more than just the standard bunch, so, here is my simple, easy, very non-professional method for putting together fresh flower arrangements.
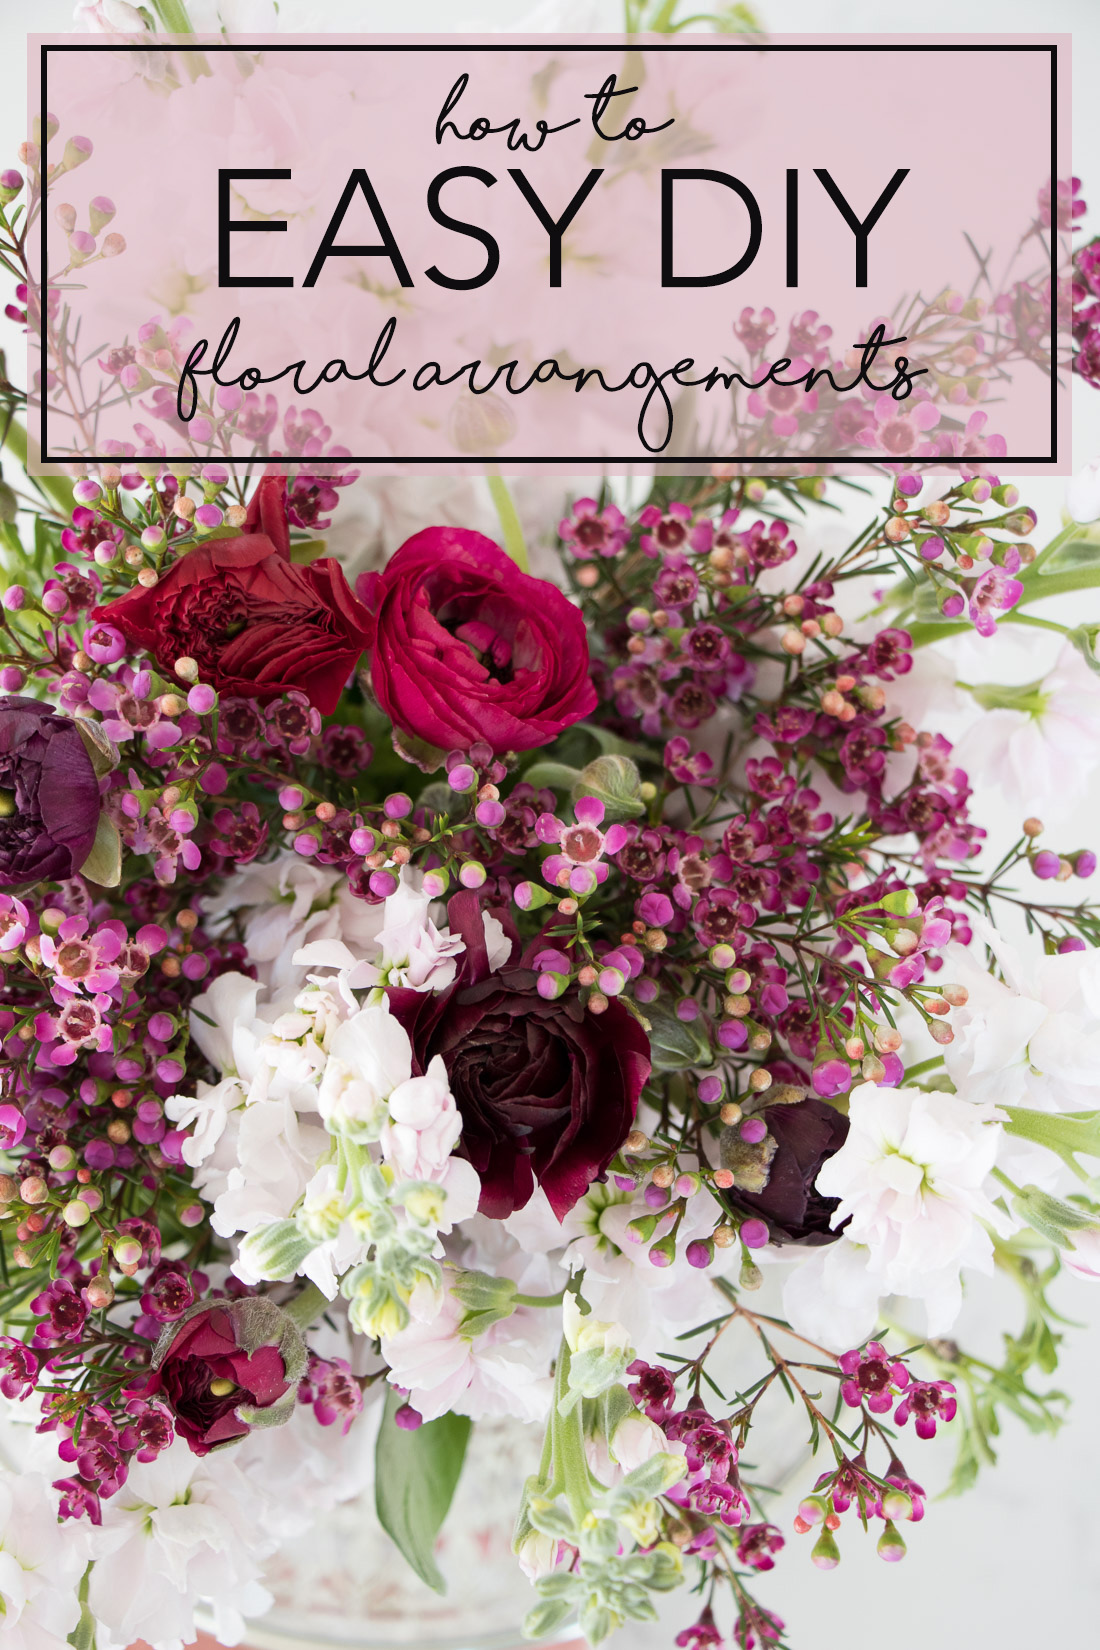
How To Easily Arrange Fresh Cut Flowers
1. Picking Colors
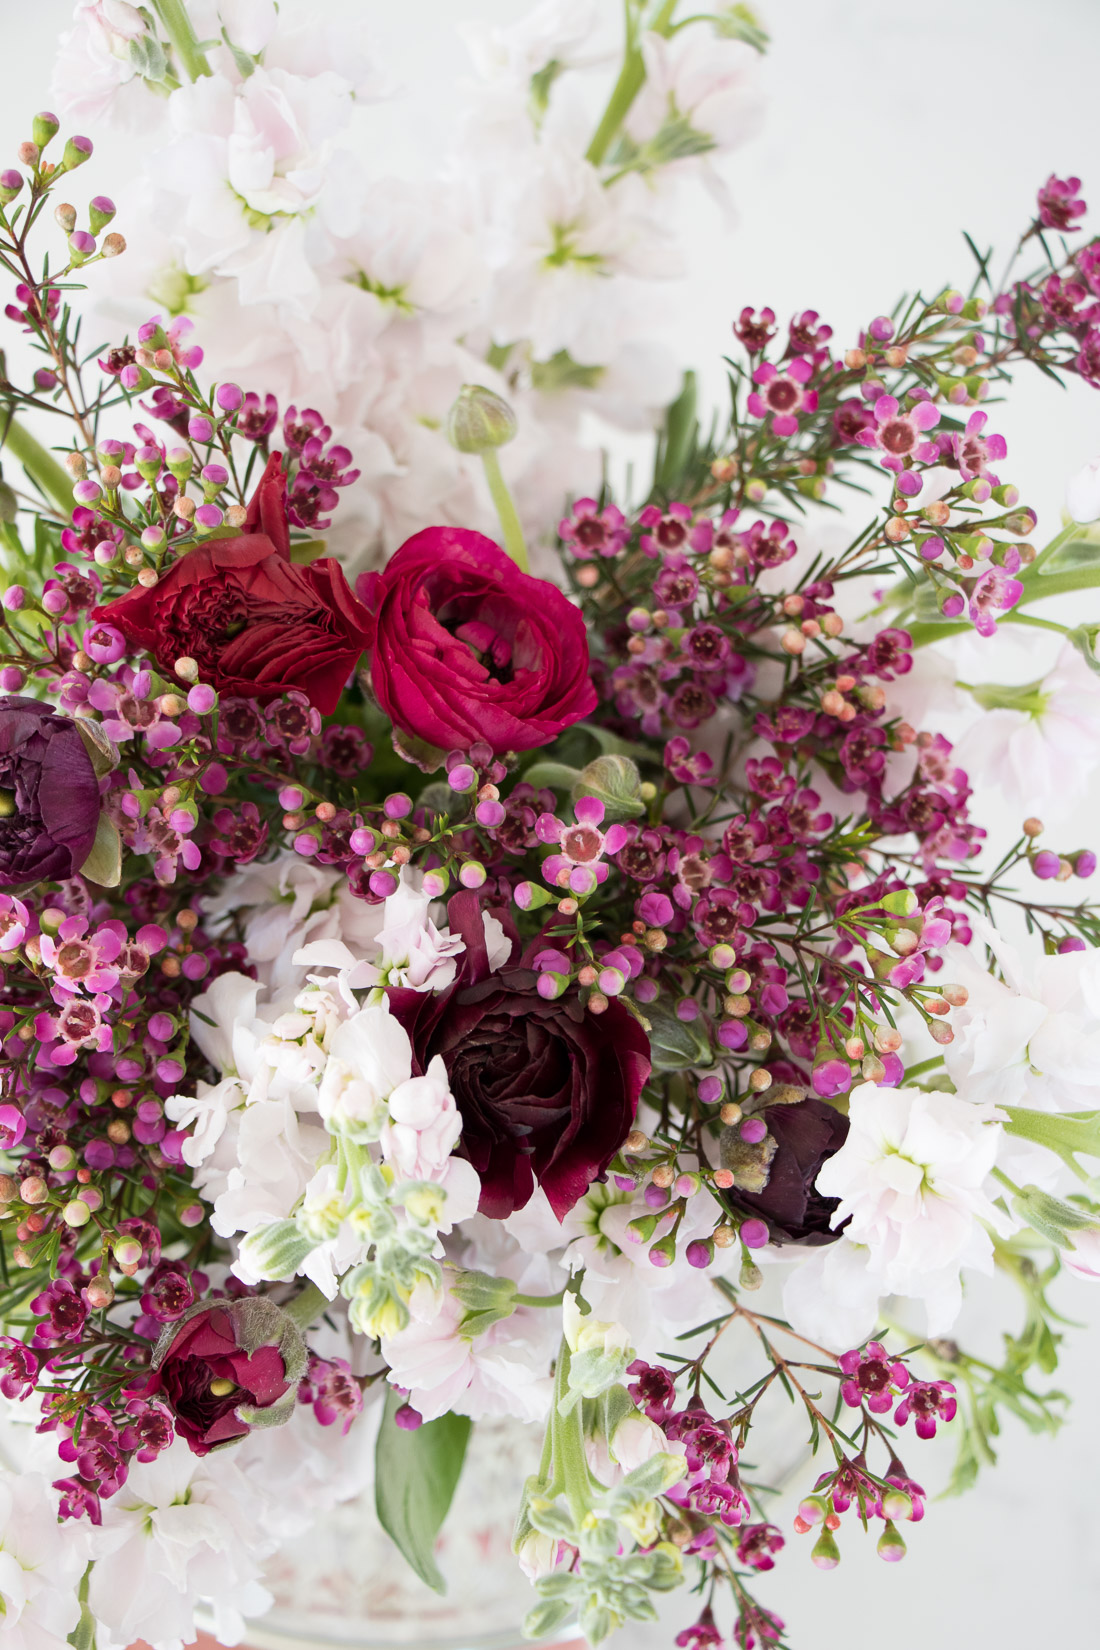
First things first, when I’m picking colors, I either choose a few flowers in the same or very similar color or I’ll play on the shades in a certain bouquet. This day I stopped at the local flower shop and built my own bouquet of hydrangeas, freesia and some other random filler I don’t know the name of. You can buy the flowers by the stem, so I love to stop in there!

However, besides a few roses, they didn’t have anything else with color, so I also stopped in Trader Joes too. Ol’ TJ didn’t let me down. They had beautiful Ranunculus flowers right up front, and I grabbed two other fillers in a purple hue to match them.
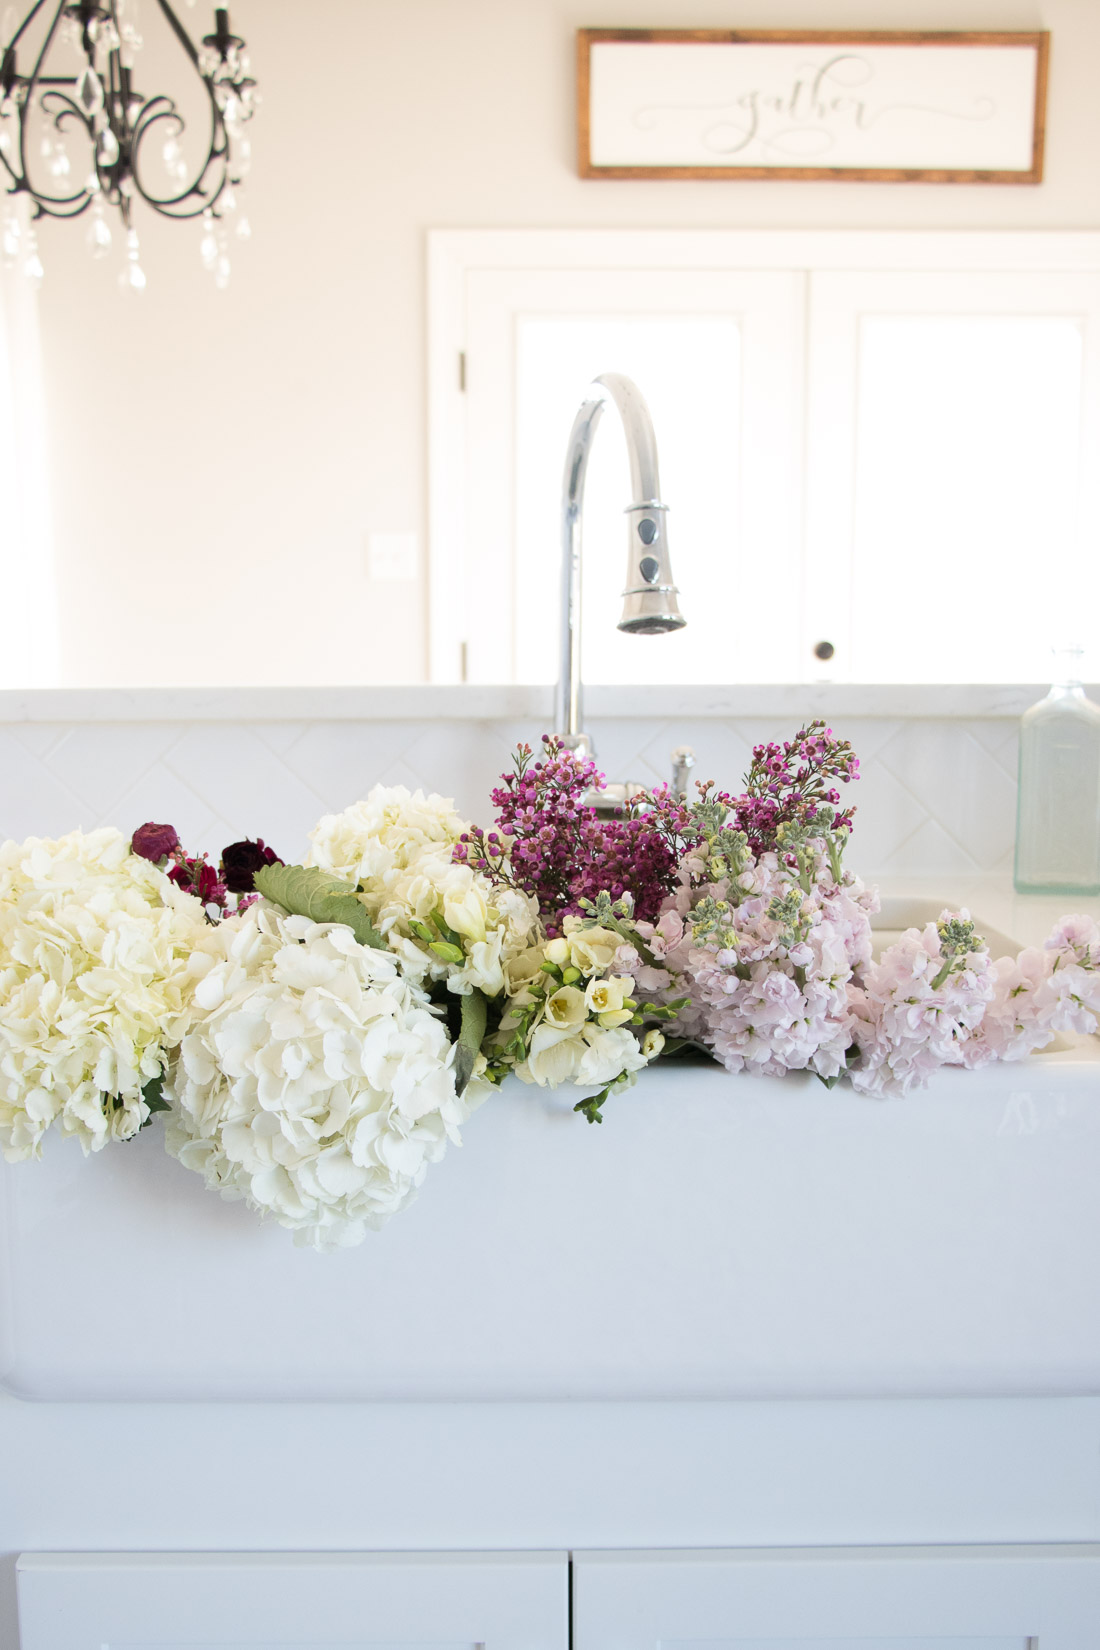
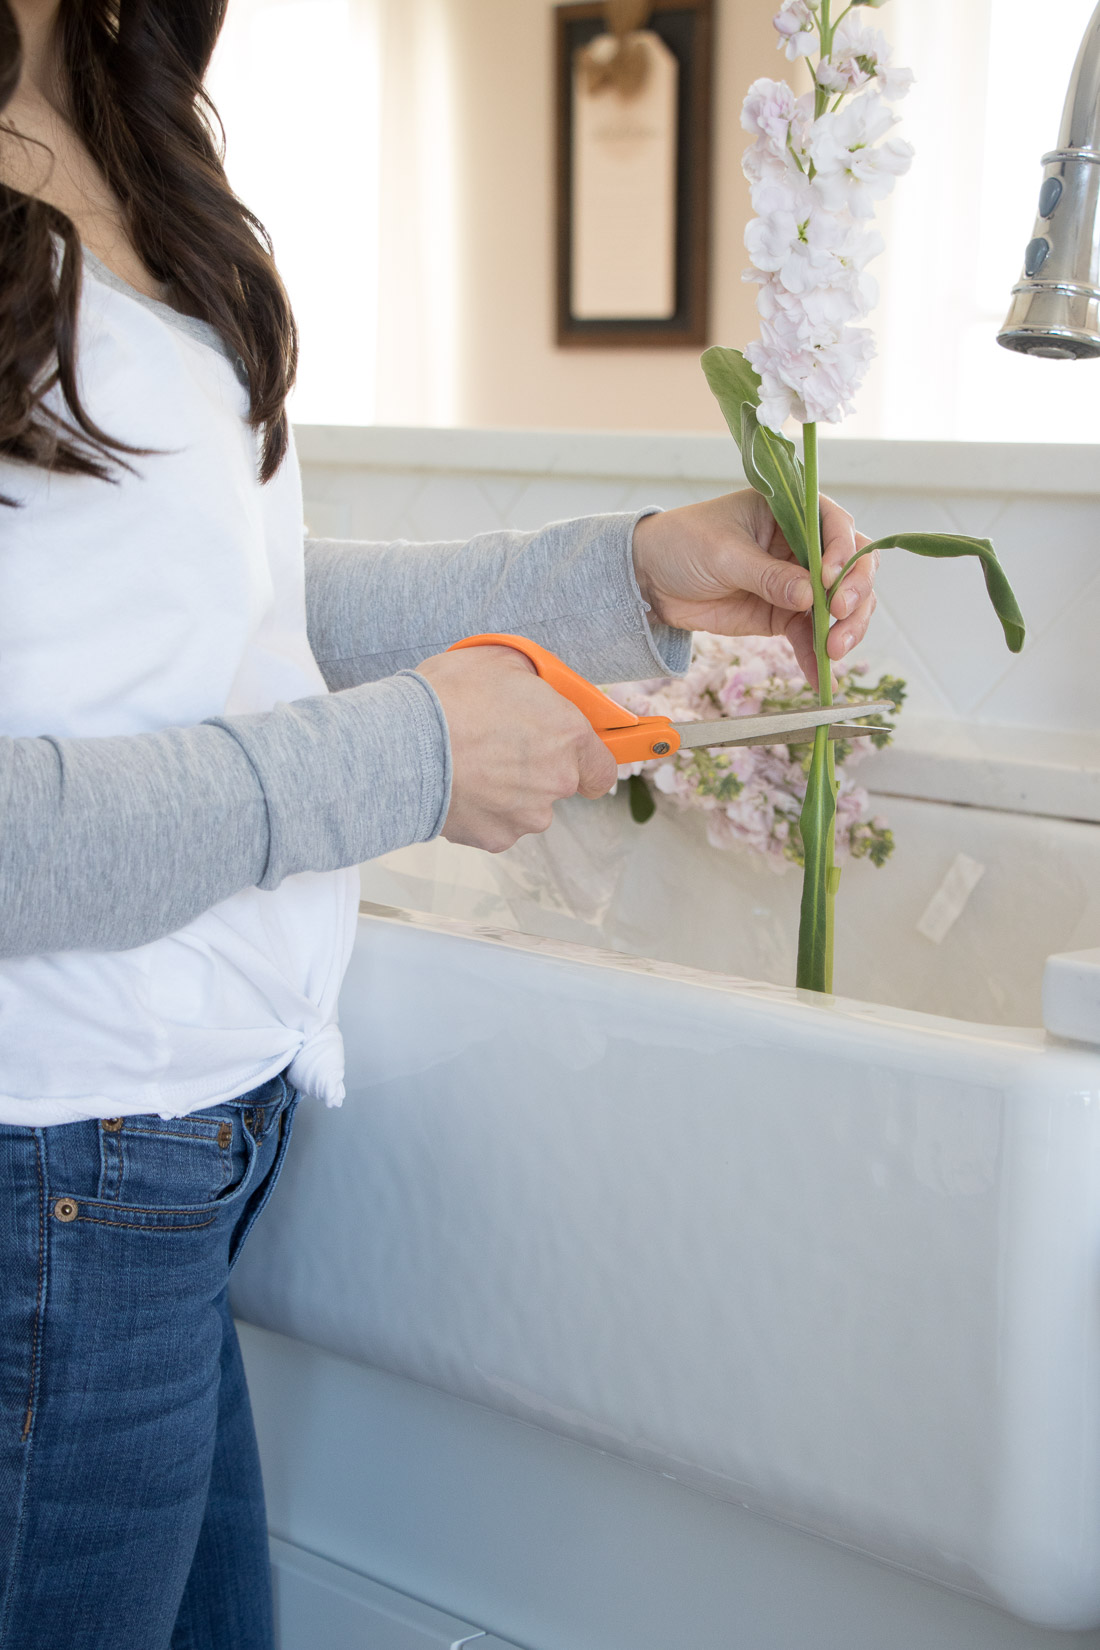
2. Prepare the Stems
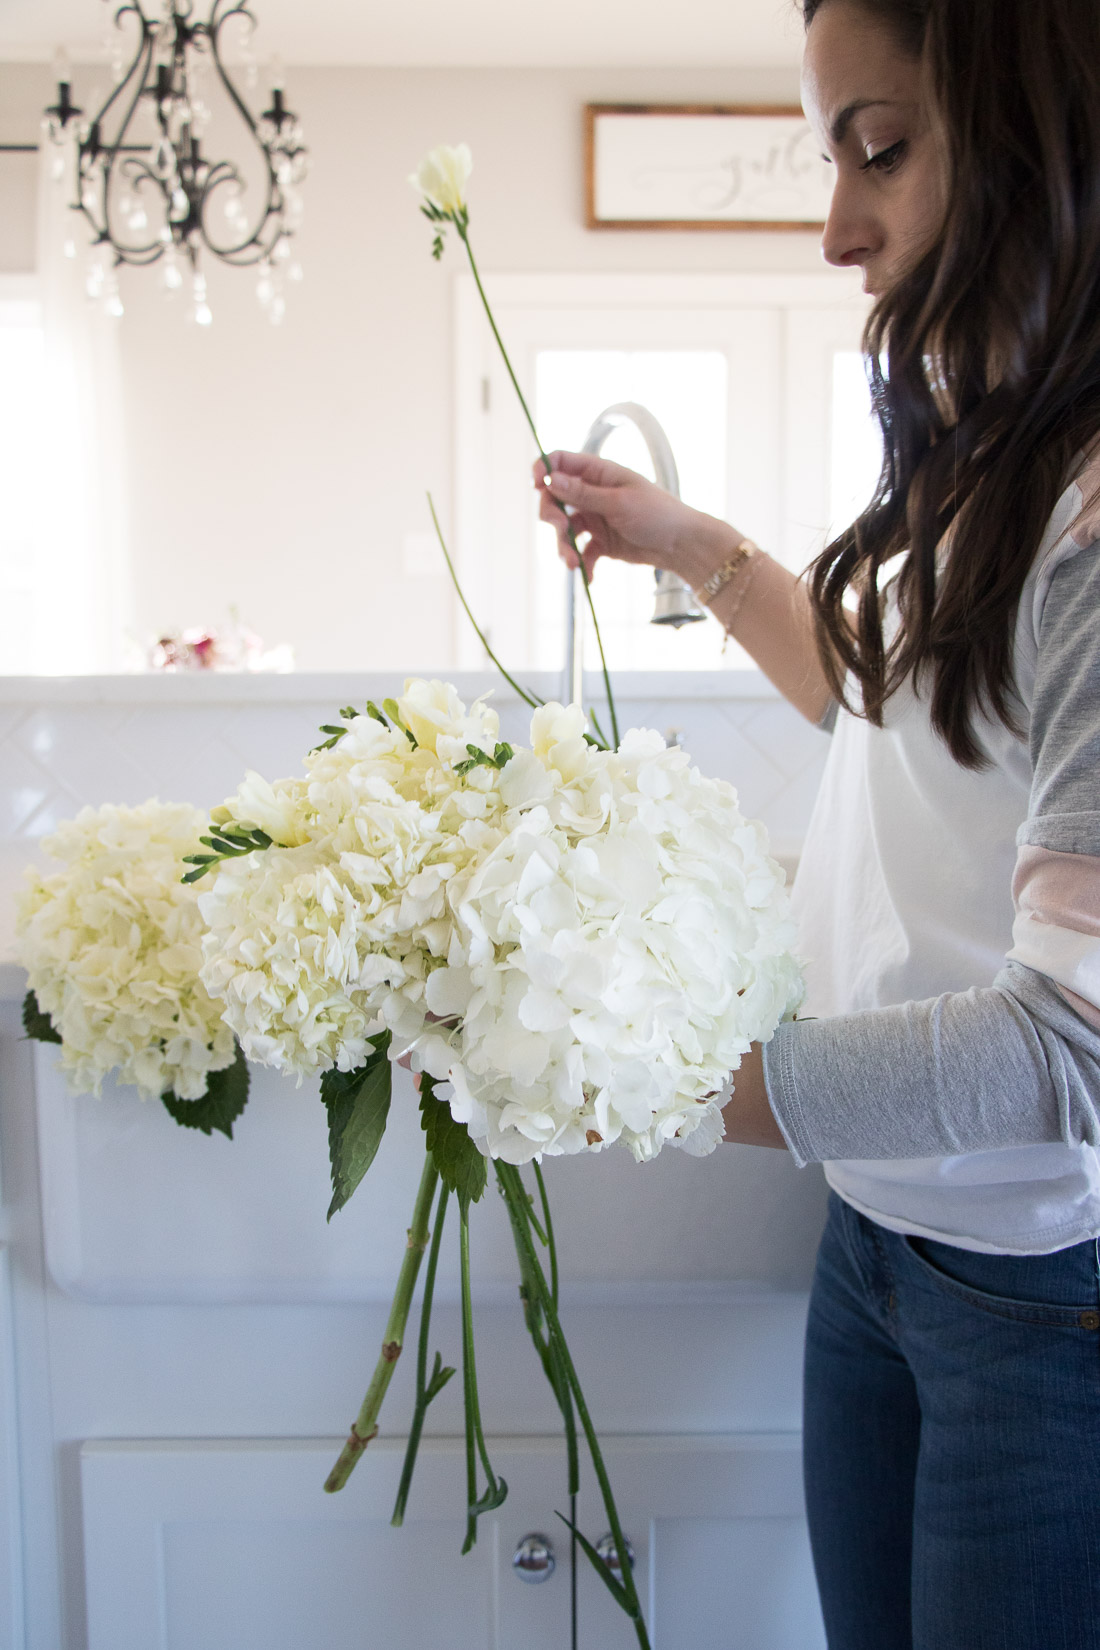
When I get home, I open up the bouquets, trim any foliage that sits low and cut each stem at an angle.
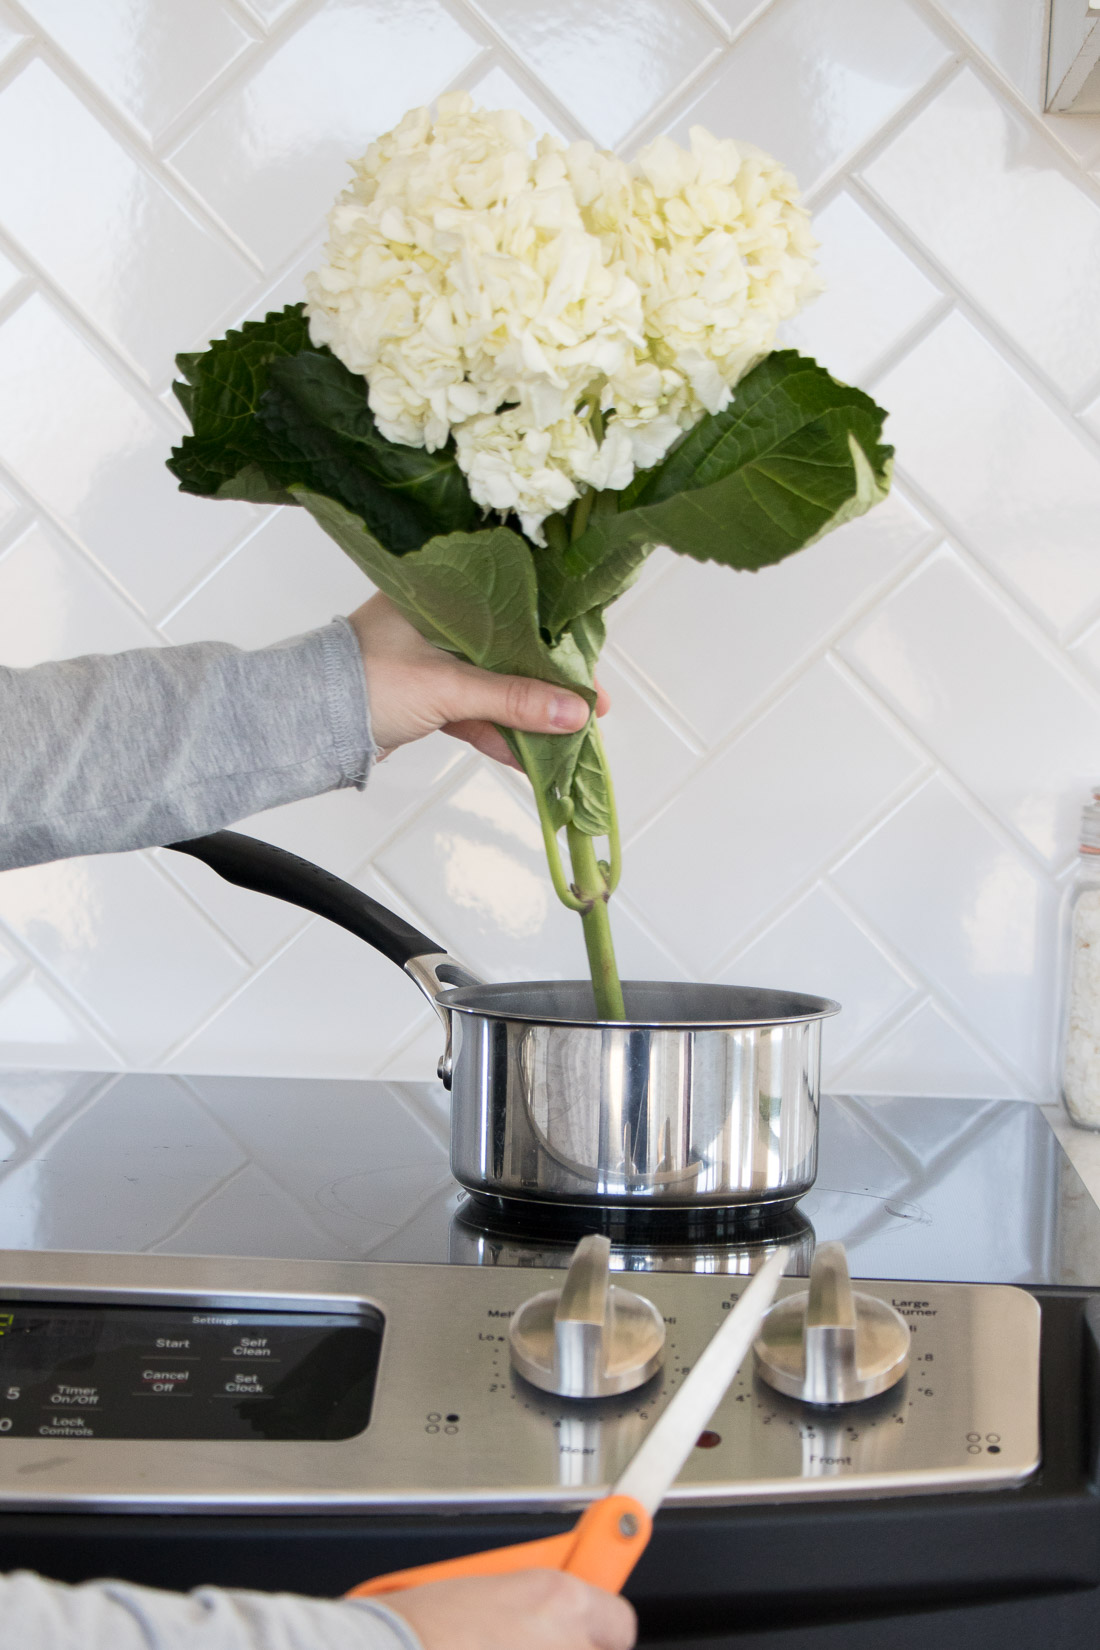
Then I set them in a sink full of room temperature water. Hydrangeas can be really finicky, I even had one that wilted on me before I made it home. One trick I’ve learned, is to boil a pot of water and stick the stem in the pot for just a few seconds. Then you snip the bottom again (at an angle) and put them in room temperature water. They almost always perk right back up.
3. Pick and Prepare the Vase
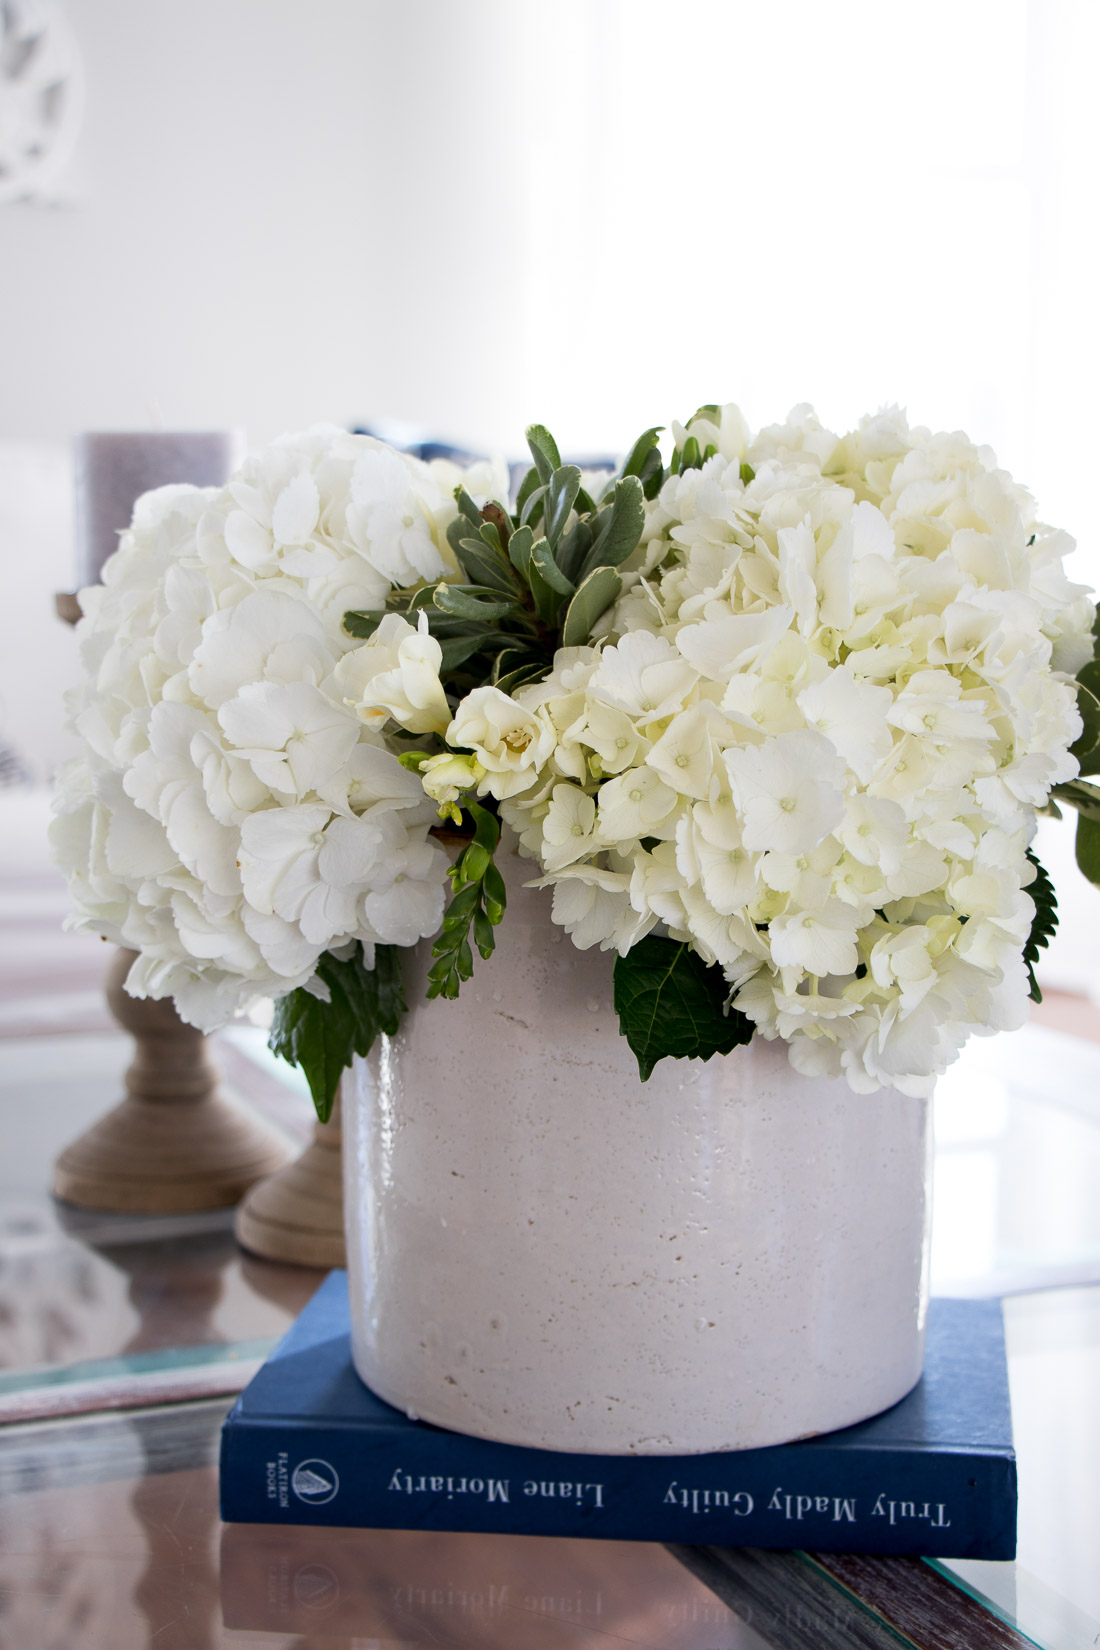
I have a few basic white vases that are easy to default to, but what I love to use the most are vintage and antique containers. I think I got this love from my dad. He bought me an antique crock for my birthday, that I keep out all of the time. He also has quite the collection himself, I snagged this cute little container that I use for single (or just a few stems) by my kitchen sink. I also like to use a vintage pitcher or vintage mason jars every chance I get.
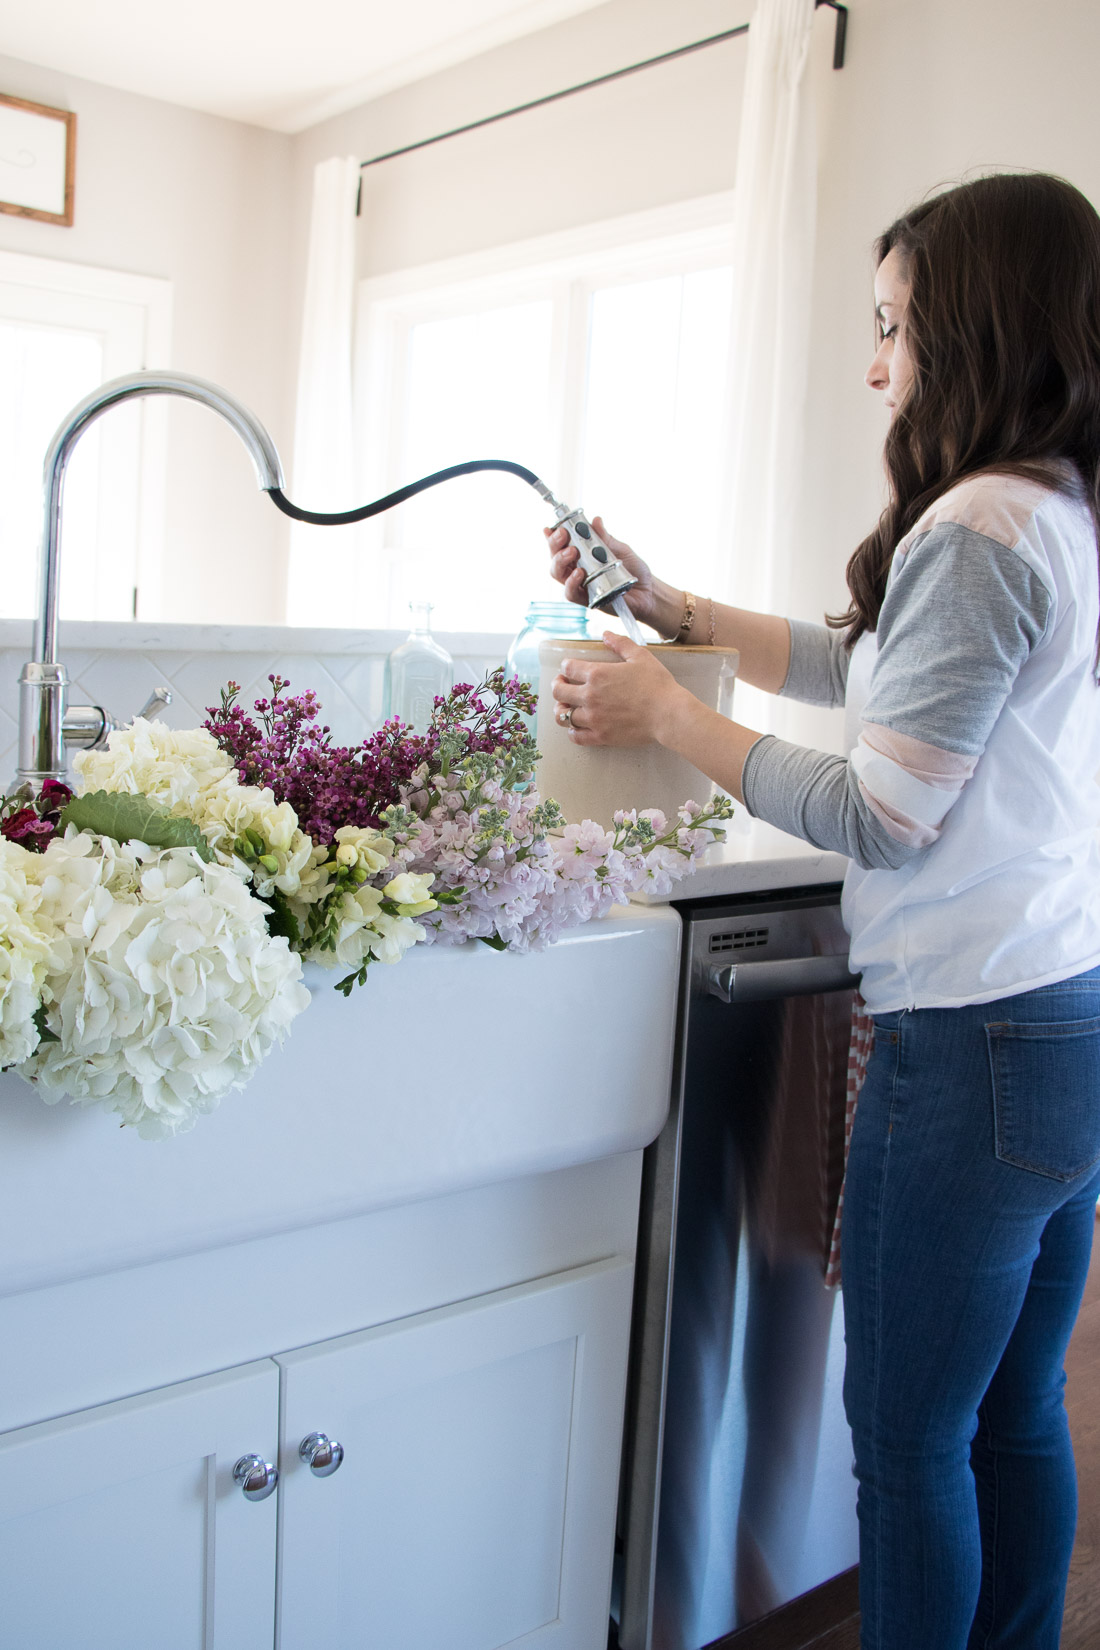
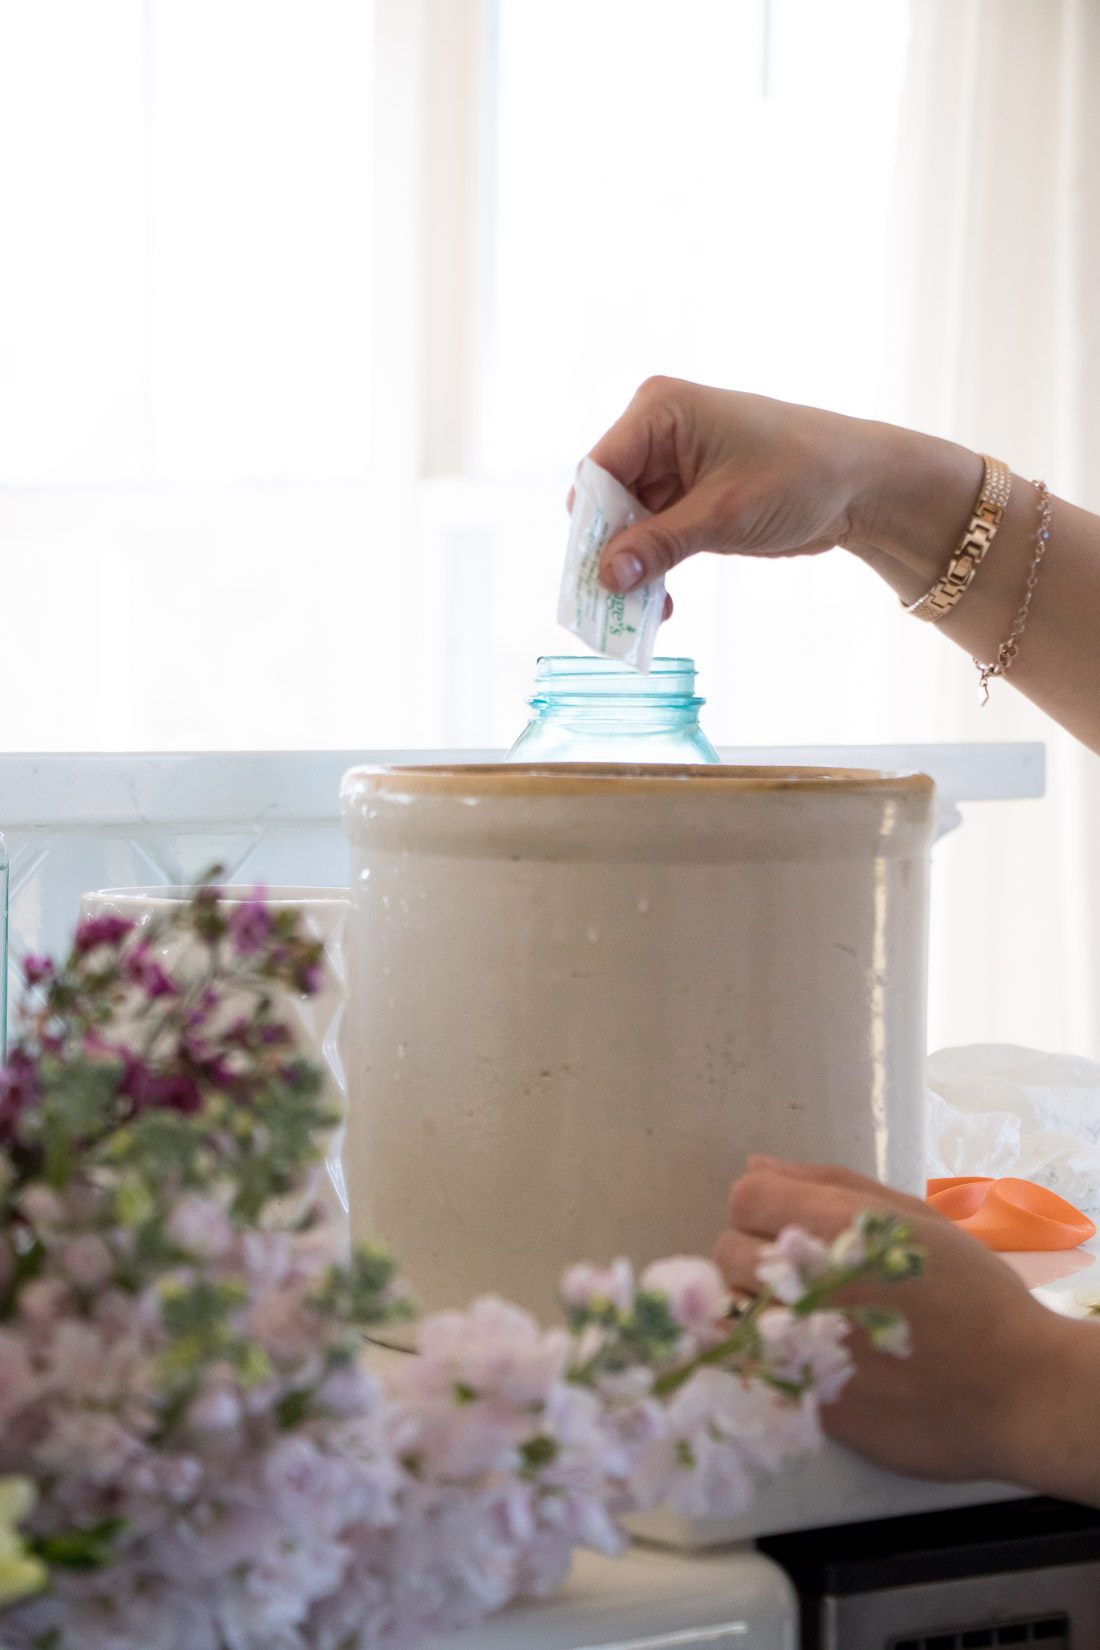
On this particular day, I chose the crock and a basic white vase. Whatever you choose, I fill them with room temperature water and mix in the flower food that comes with the bouquets. (Just to note, some flowers like Daffodils and Tulips like cold water.)
4. Arrange
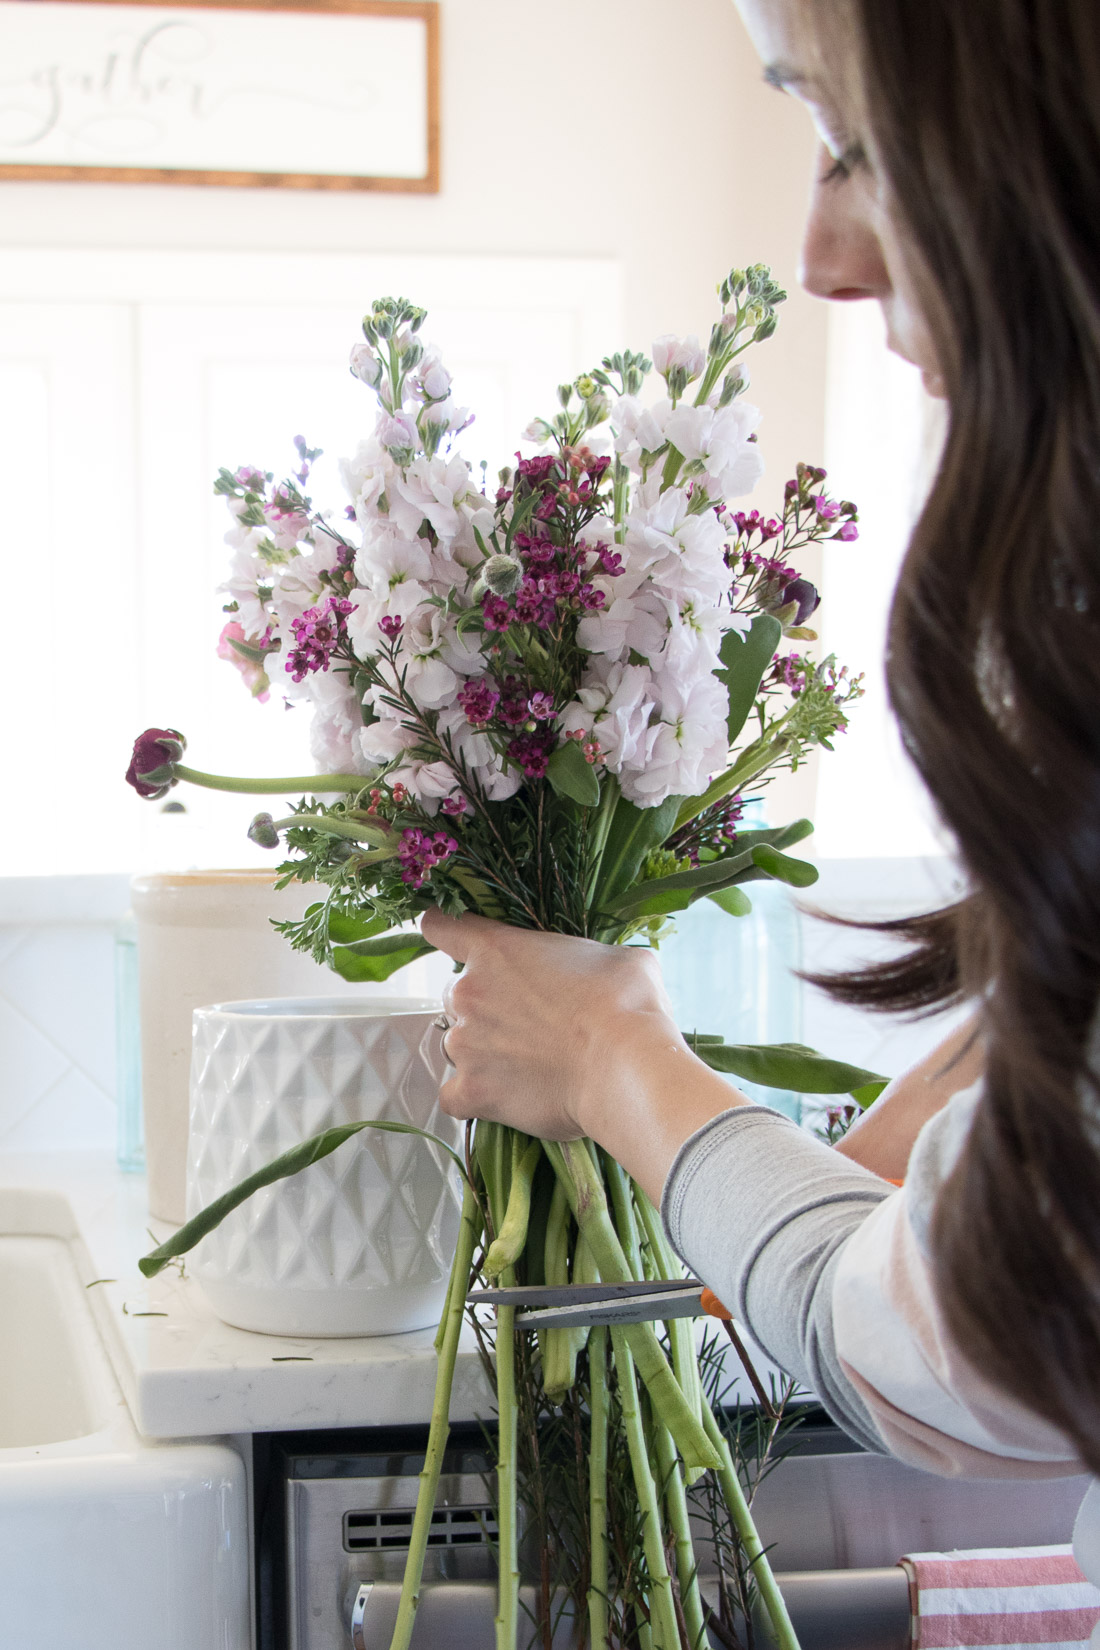
I bunch everything in my hand and then I make adjustments before setting them in the vase. I start with whatever flower I want to be my focal point and then build in a circular motion, alternating with the filler flowers. If the flower I have has lots of little stems and flowers at various heights, I will often trim them off to make the flowers all one height. It makes it easier to arrange for me.
Once I have all of the flowers bunched together as I like, I roughly measure their height to the vase and snip away at each one (at an angle). I also snip off any excess foliage, you want to be sure no foliage is in the water or it will get soggy and moldy and kill the arrangement. If I want to keep a tight look, I’ll wrap floral wire around the bunch before putting it in the vase, but most of the time I let the flowers fall out to be supported by the vase.
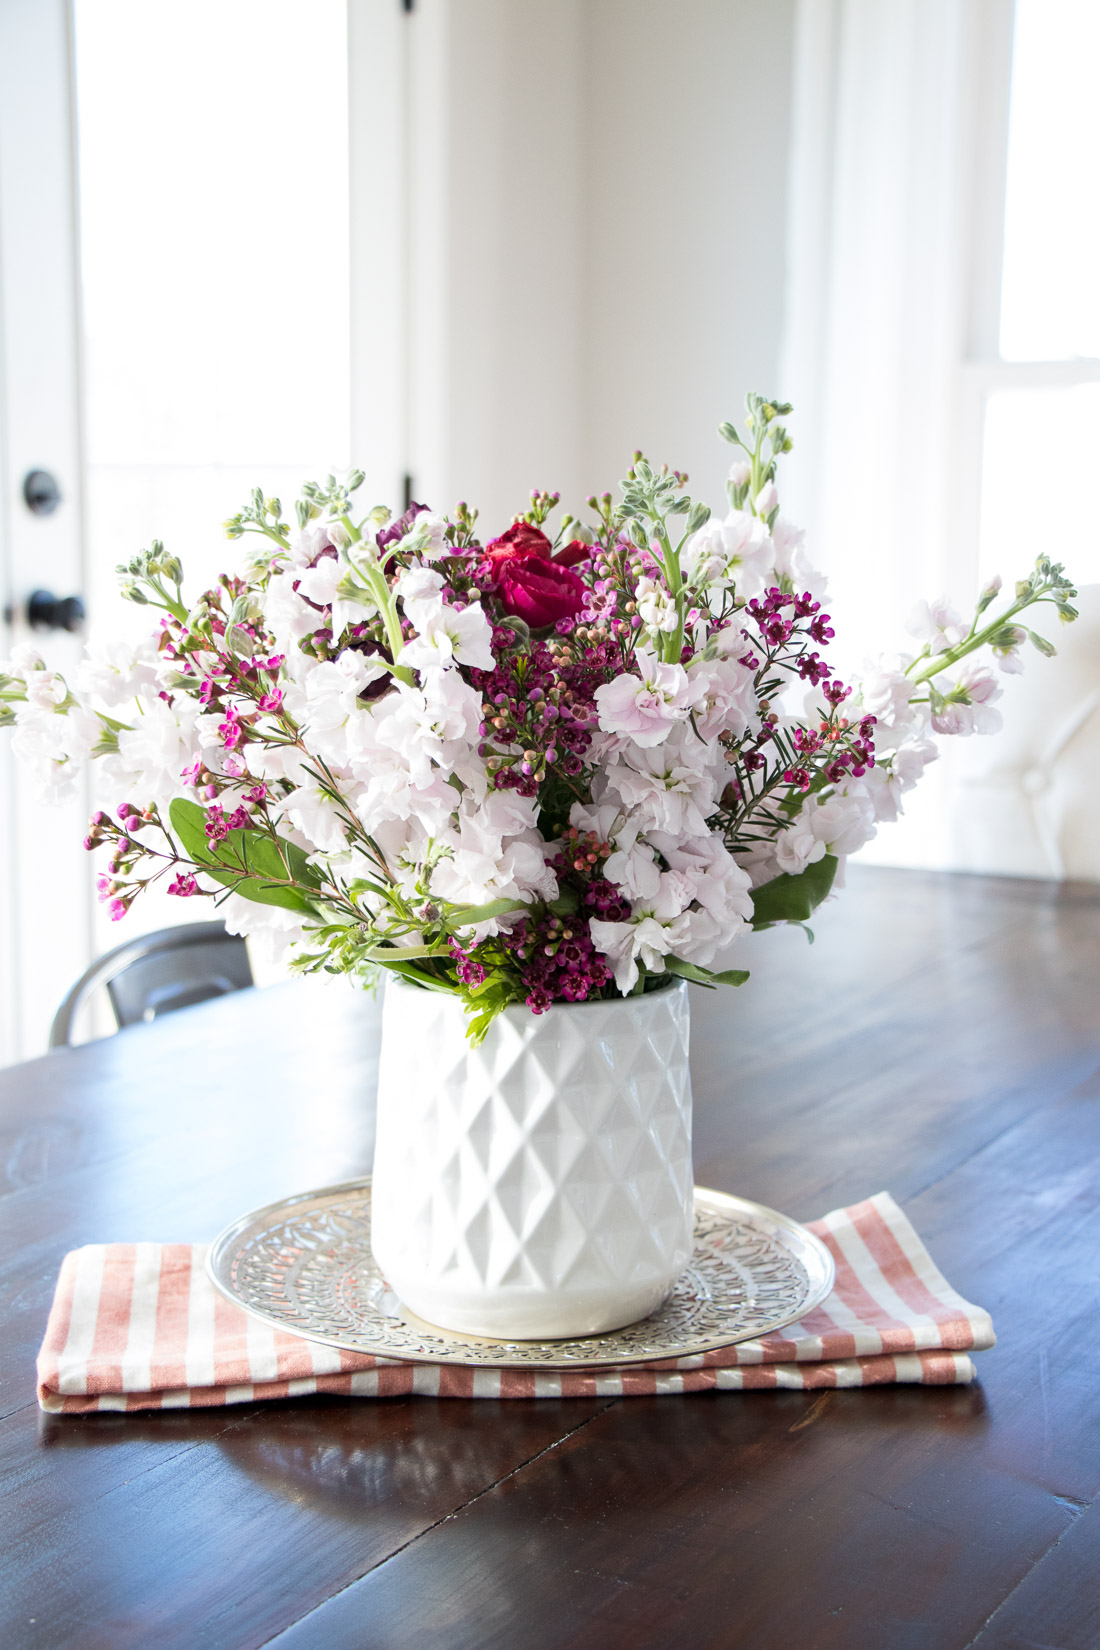
Then I move things around if needed and add any additional small fillers if there are holes.
5. Make Them Last
Once that’s all said and done, I love to watch the flowers open up and settle into the arrangement.
Of course, I want them to stick around as long as possible! I give them fresh water every day or at least every couple of days. If the hydrangeas get all wilted, the boiling trick works wonders for perking them back up!
I have dreams of getting my own blooms to grow in the back yard, so we’ll see if I can start making that a reality this year! It sure will make my love of fresh cut flowers more cost effective! Tell me, what are you favorites?
– Brooke
pin me for later!