Lately baby girl has become obsessed with coloring. Anytime she sees a pen or paper she points and repeatedly says “Aubrey” (probably because we started with writing her name). Now she colors at least once per day which I love because its a few minutes of contained distraction so I can get things like unloading/loading the dishwasher or some stovetop cooking done. Since she’s coloring so frequently I started just keeping her crayons, and tape for tacking down paper to her tray, in the kitchen on the counter. While convenient, having extra things aimlessly taking up residence on my already clutter filled counter space has not been very feng-shui for me. So I decided what I needed was a little container to corral these often used art supplies. I had saved a couple formula containers back from A’s formula drinking days; one being this smaller, sample size Similac can on the left.
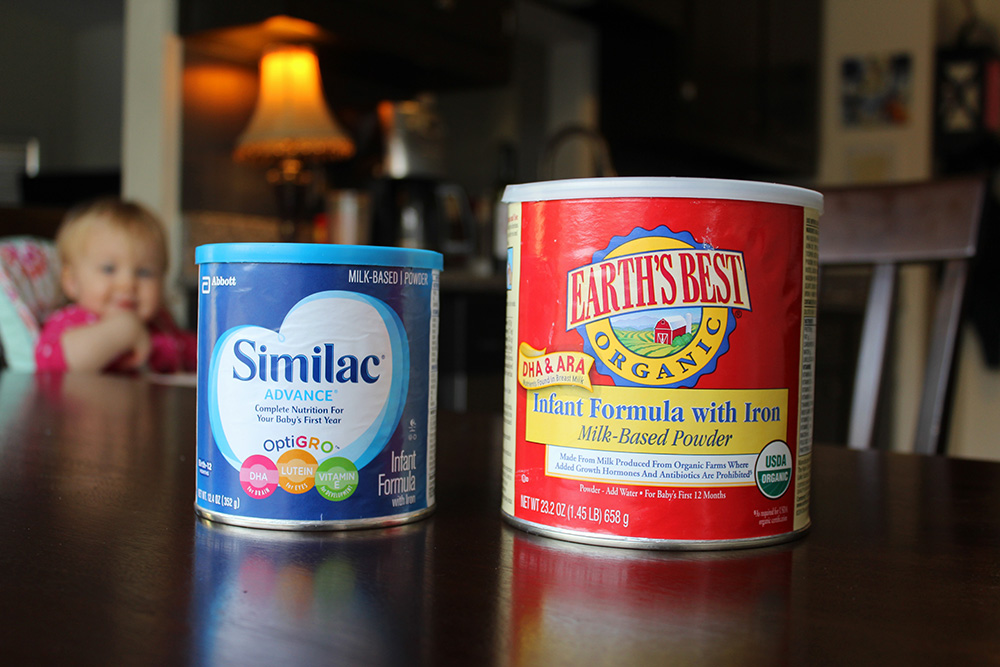
Look at that happy baby. I give you one guess as to what she’s doing…
After only a few simple steps, it was transformed into a cute storage container! Today I’ll tell you how.
What you need:
Old formula or coffee can
Chalkboard paint
Spray paint
Fine grit sandpaper pad
Chalk
First thing I did was remove the label. Then I gave it a light sanding to smooth out the uneven areas from dried glue that was left behind. I also sanded the lid to create a surface paint could better adhere to. Then I wiped both down with a cloth to remove any dust. Prime the surface of your can by rubbing it over with chalk. Then paint one layer horizontally and one layer vertically of the chalkboard paint, each one hour apart. I chose to spray paint the lid and did not put a gloss seal on it because I thought the matte finish worked better with the finish of the can. And voila! You’re done. That’s it. Finito. Let your can sit 24 hours to thoroughly dry then condition your chalkboard surface by rubbing it over with chalk and wiping away before writing out your label.
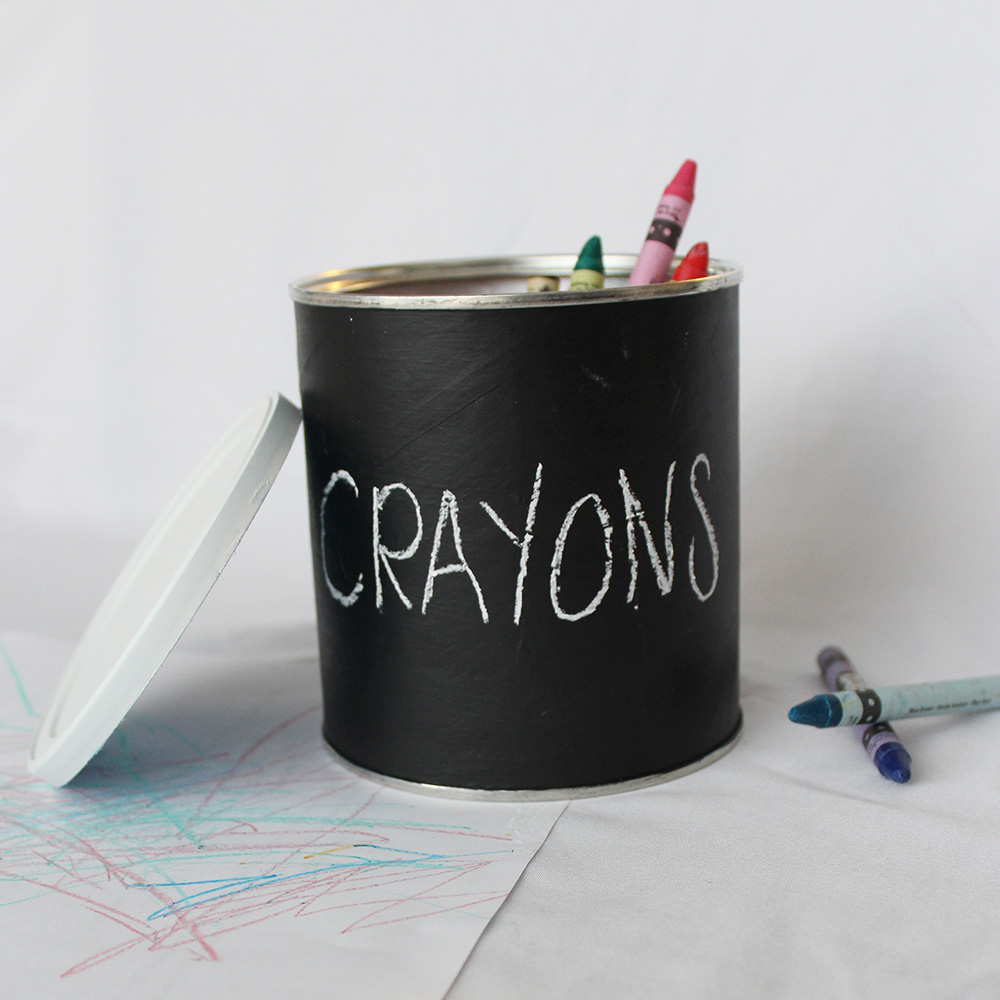
Happy crafting!
Erica
P.S.Come back next week for a DIY using that finished up chocolate candy heart box!
This is such a cute idea and so many ways you could use this! I love how it turned out!
Jill
Doused In Pink
Thanks Jill!! I was excited that it worked out the way I had wanted. 🙂