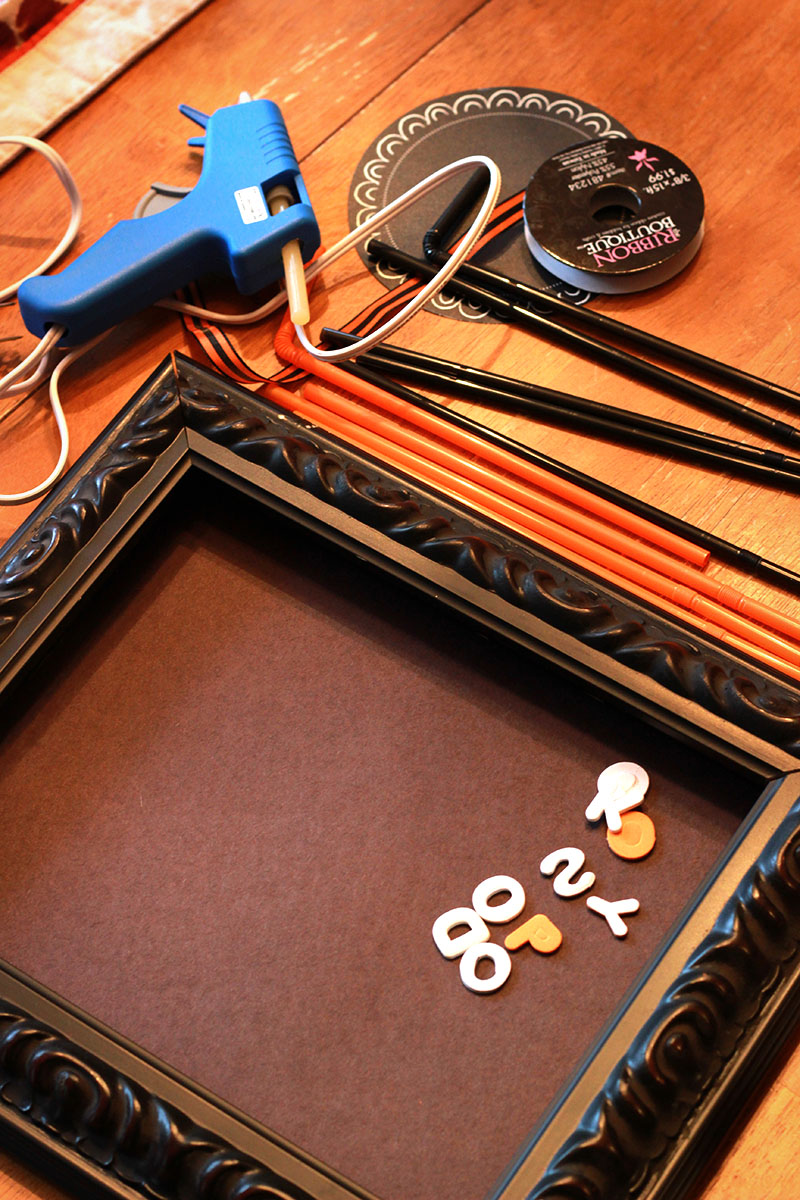
The frame we used is one I have had on hand for years, it lacks glass and a back, so I often use it for fun posters at parties, or for fun holiday crafts like we did here. I sure am glad I didn’t just toss it when it fell and broke years ago.
Now, on to the craft. We started out with a circle that was pre-cut, you can also just draw this out on a piece of black construction paper, but since we already had it, I figured why not!
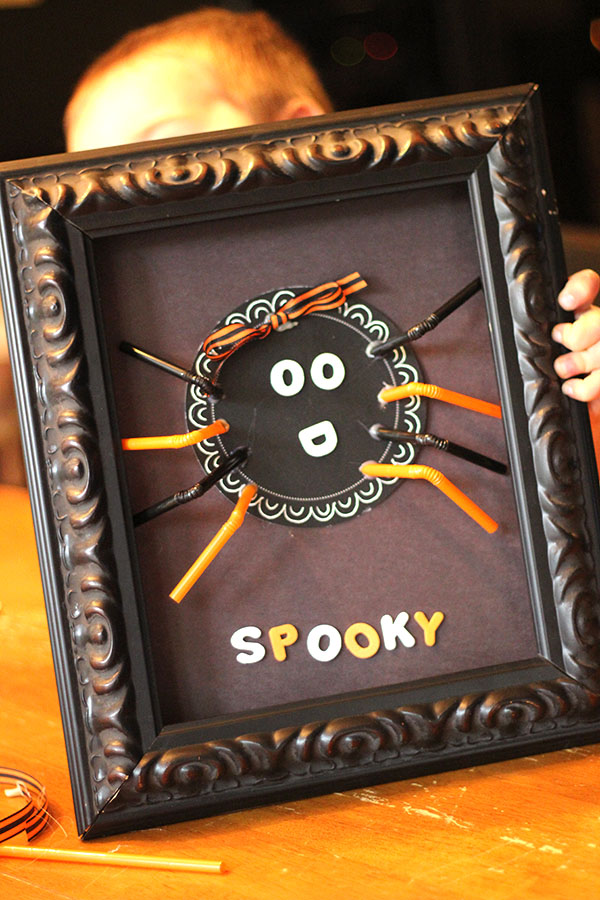
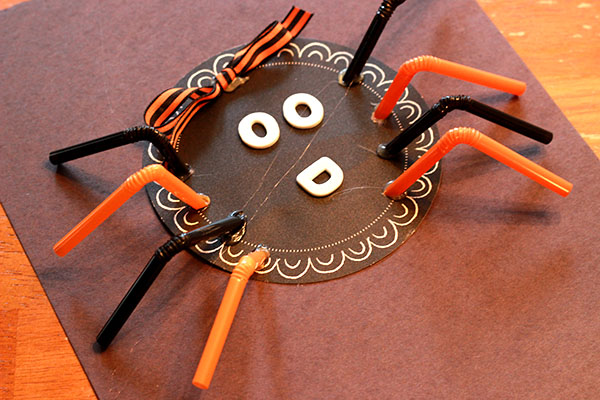
With a little black and orange ribbon, I tied a tiny bow to glue on top of the spider, taking it from Mr. to Mrs. in a snap.
With the peel of our foam letters (2 o’s and d), we had a happy little face for our spider and moved on to the legs.

I cut a diagonal line about an inch down from the flexible part of each straw. Once I cut one, I used it to measure out the length for the rest. I cut each at an angle so they would lie flat in the glue on the paper.
Once all of our legs were cut, I placed a little hot glue on the end of each and stuck them to the sides of the spider, alternating colors.
After peeling away some hot glue strings, it was time to glue the finished spider to the black construction paper.
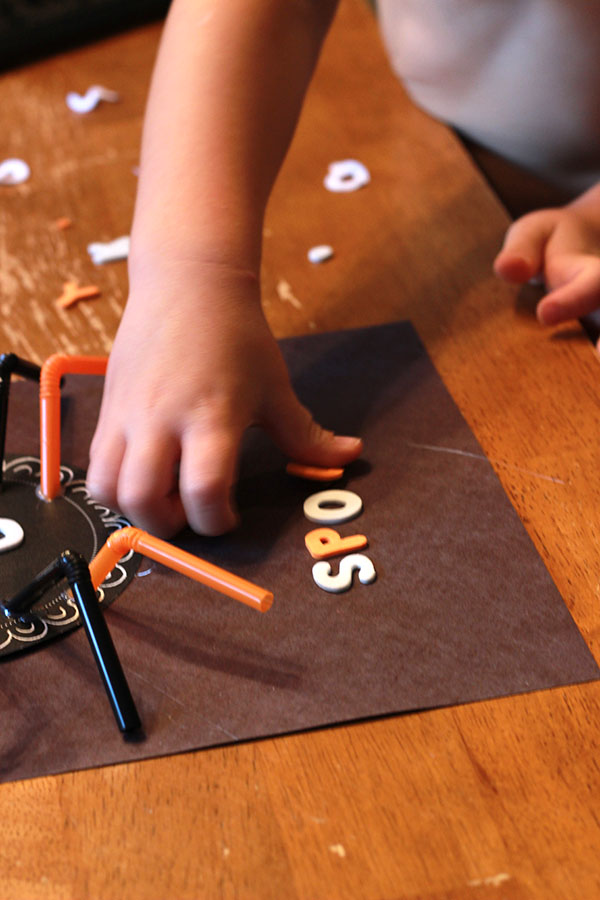
The finishing touch was an orange and white ‘spooky’ stuck under the spider every so graciously by Maddox and Mrs. Spooky Spider was complete!